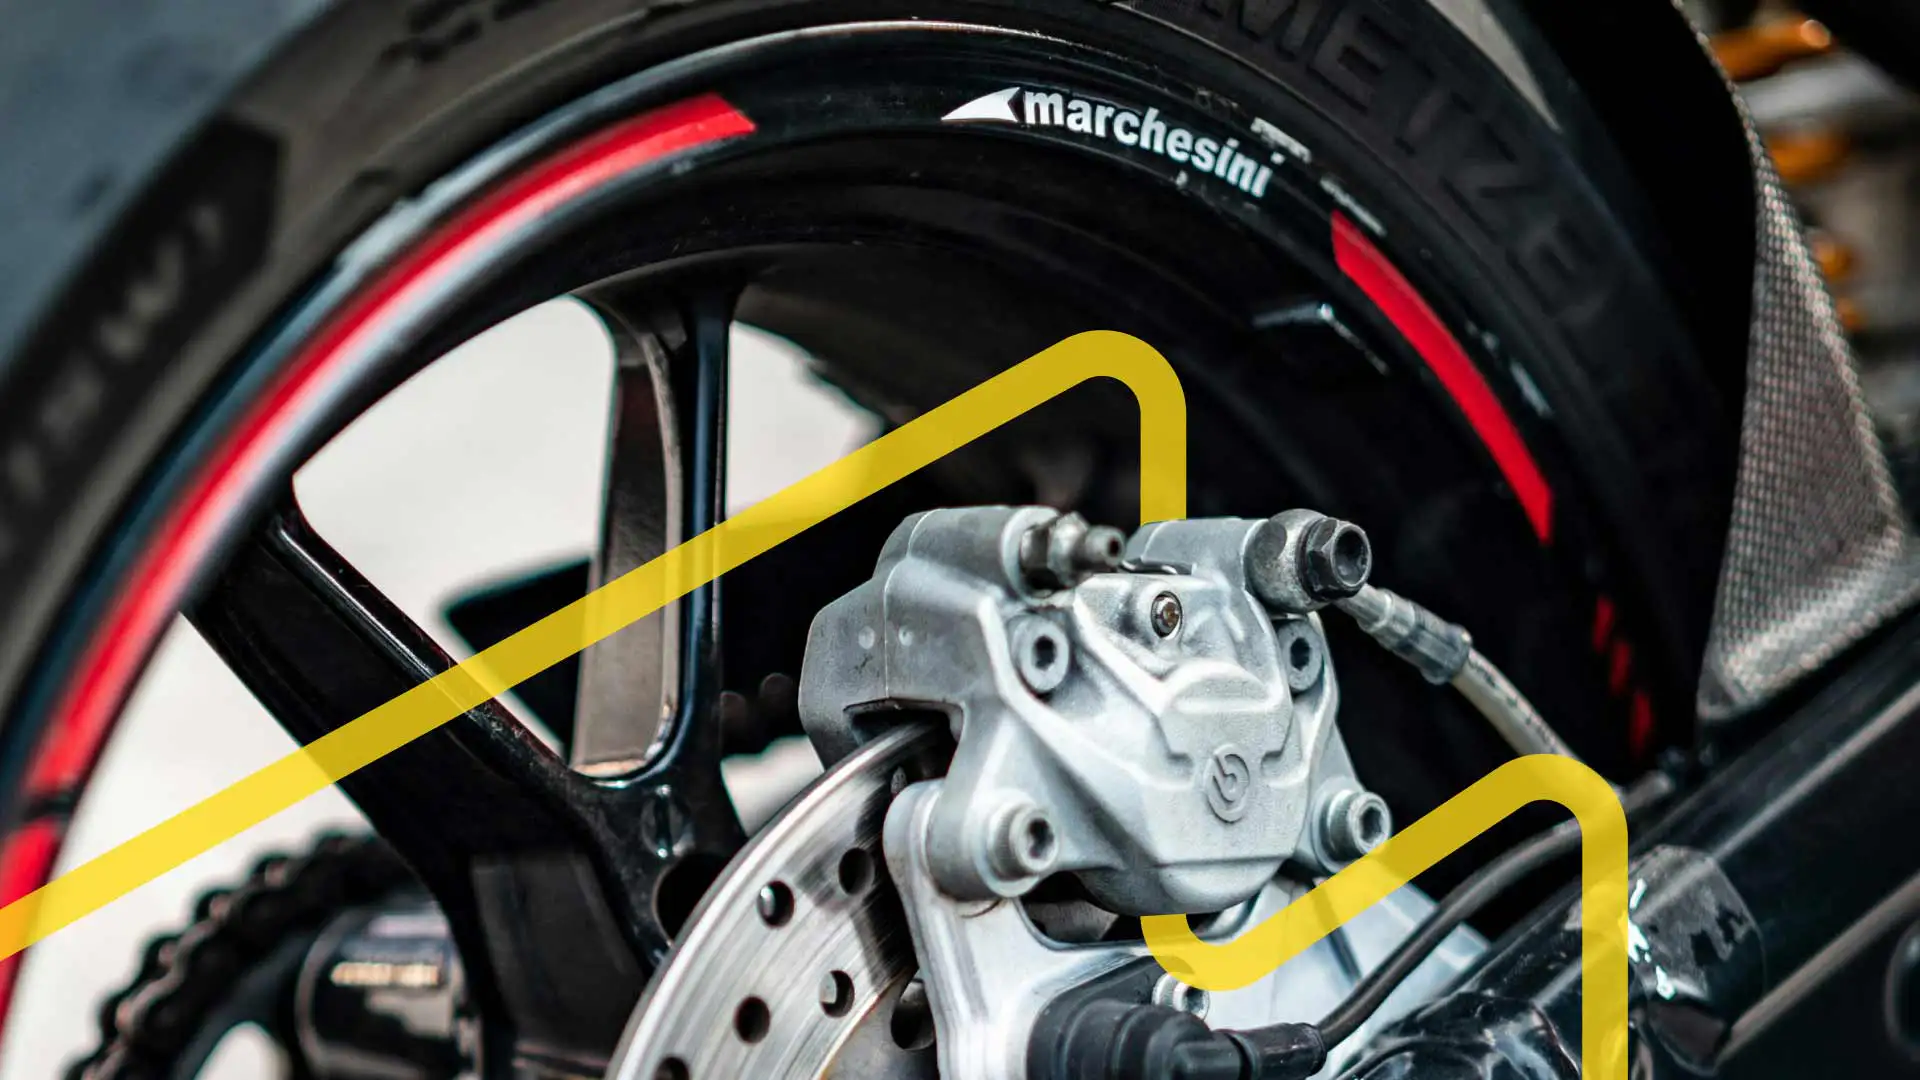
No motorcycle braking system would be worth its salt without a good set of calipers. These parts, which apply pressure to the brake pads, create friction that slows down or stops the bike.
Well-functioning brake calipers help riders react quickly to avoid accidents or maneuver around obstacles. They improve performance by enabling smoother deceleration and better stability when cornering. And, by providing consistent stopping power, they contribute to the longevity of parts like the tires and drivetrain.
However, calipers do have their kryptonite, namely wear and tear that can cause corrosion, seized pistons, or spongy or uneven braking. While splurging on new ones is an option, there’s actually a more affordable and efficient solution.
Rebuilding and repairing calipers restores them to like-new condition for a fraction of the cost of replacement. It can also extend their lifespan significantly. So, let’s dig into the details of brake calipers, some common problems they face, how to rebuild them, and tips to keep those braking systems in first-rate condition.
Understanding Brake Caliper Anatomy & Function
A motorcycle brake caliper is essentially a housing that includes pistons, seals, and brake pads. When you squeeze the brake lever, hydraulic pressure is sent through the brake lines to the caliper. This pressure causes the pistons to extend, pressing the brake pads against the rotor and creating the friction that slows down or stops the motorcycle. The main components of a typical brake caliper are:
Pistons, which apply pressure to the brake pads
Seals, which prevent fluid from leaking out and help the pistons retract
Brake pads, which make contact with the rotor to create stopping power
Caliper body, which holds all the components together
Mounting brackets, which attach the caliper to the motorcycle’s frame or fork
There are a few different types of brake calipers, too: Sliding calipers have one or two pistons on one side that slide over to press the pads against the rotor. They’re common on most standard motorcycles because of their simplicity and affordability. Opposed-piston calipers have pistons on both sides, which distributes pressure more evenly, and are often found on high-performance bikes. Radial calipers are mounted perpendicular to the wheel’s axis, making them more rigid and responsive at the lever. They’re a popular choice in racing and performance applications.
Common Caliper Problems & Causes
Even though calipers are built tough, they aren’t invincible. Sticking pistons, often caused by corrosion or contamination, can lead to uneven pad wear and poor braking. Leaking seals allow hydraulic pressure to escape and may contaminate the brake pads with fluid. Aggressive riding or hard braking can accelerate normal pad wear and harm the rotor if left unchecked. And, damaged brackets can throw the caliper out of alignment and lead to uneven pad wear.
Heat, corrosion, contamination, and subpar maintenance are the main culprits behind these issues. For example, high temperatures can cause seals to deteriorate and brake fluid to break down, while exposure to the elements can lead to corrosion of metal parts.
Tools & Equipment for Caliper Rebuilding
Before you start rebuilding, you’ll need a few specific tools. A caliper rebuild kit is a must-have, and usually includes new seals, dust boots, and sometimes replacement pistons. A piston compressor tool makes retracting the pistons without damaging them much easier. You'll also need brake cleaner, silicone brake grease, a torque wrench, and a micrometer.
The Rebuilding Process
Begin by cleaning the exterior of the caliper and the surrounding area to prevent contamination. Then, remove the caliper from the bike, being careful not to damage the brake line. Next, take the caliper apart, removing the pads, clips, and any external parts. Use your piston compressor tool to carefully push the pistons out of their bore; you can expect brake fluid to spill out, so have a drip pan ready to catch it.
With the caliper disassembled, check each component for scoring, cracks, or excessive wear, and give everything a good scrub with your brake cleaner. Next, take the new seals from your rebuild kit and lubricate them, along with the pistons, before reassembly. Carefully insert the pistons squarely into their bores. Reinstall any remaining external components, and use new clips if the old ones are spent.
Once the caliper is back together, it's time to bolt it back onto the bike. Make sure the mounting bolts are properly torqued to the manufacturer’s specs. Then, reconnect the brake line, being careful not to cross-thread the banjo bolt. Finally, bleed the brakes to remove any air that may have entered the system.
Tips to Prevent Future Problems
Consistent maintenance is key to extending the life of brake calipers. They should be checked regularly for fluid leaks, uneven pad wear, and signs of corrosion. Calipers need to be cleaned periodically, too, especially after riding in harsh conditions.
Following proper bleeding techniques will keep the brakes running their best. And high-quality brake fluid will hold up longer and prevent corrosion in the caliper; just be sure to change it out per the manufacturer’s schedule.
Overheating the brakes can shorten their shelf life, so overly aggressive riding and hard braking should be kept in check. If the bike is being stored for any length of time, a climate-controlled space is ideal; it’ll benefit from some brake caliper covers as well.
Let It Ride: The Keys To Sustained Stopping Power
Good calipers are indispensable to a motorcycle’s braking system. But what happens when these hard-working parts begin showing their age?
Instead of the expense and hassle of full-on replacement, many riders prefer overhauling their brake calipers. It’s a straightforward process, albeit one that requires the right tools, knowledge, and attention to detail to keep brakes performing their best and riders safe on the road.
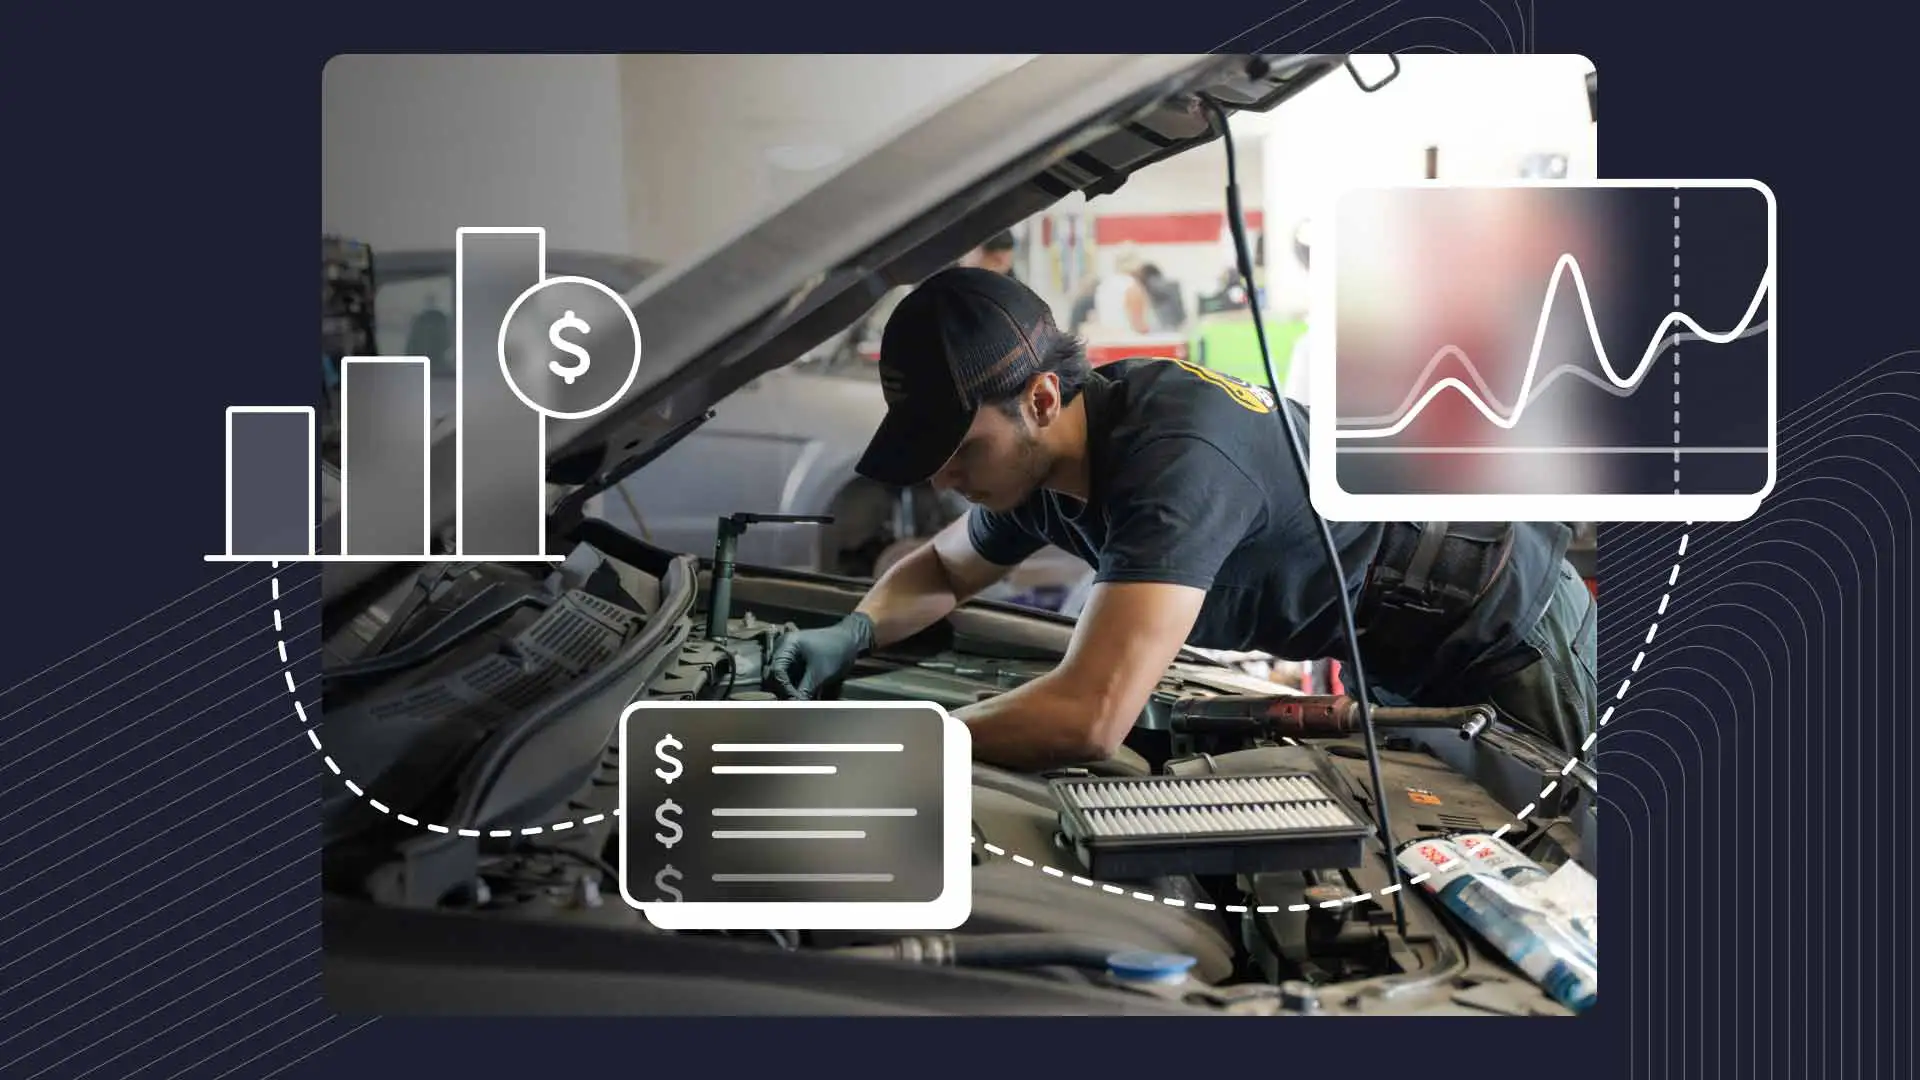
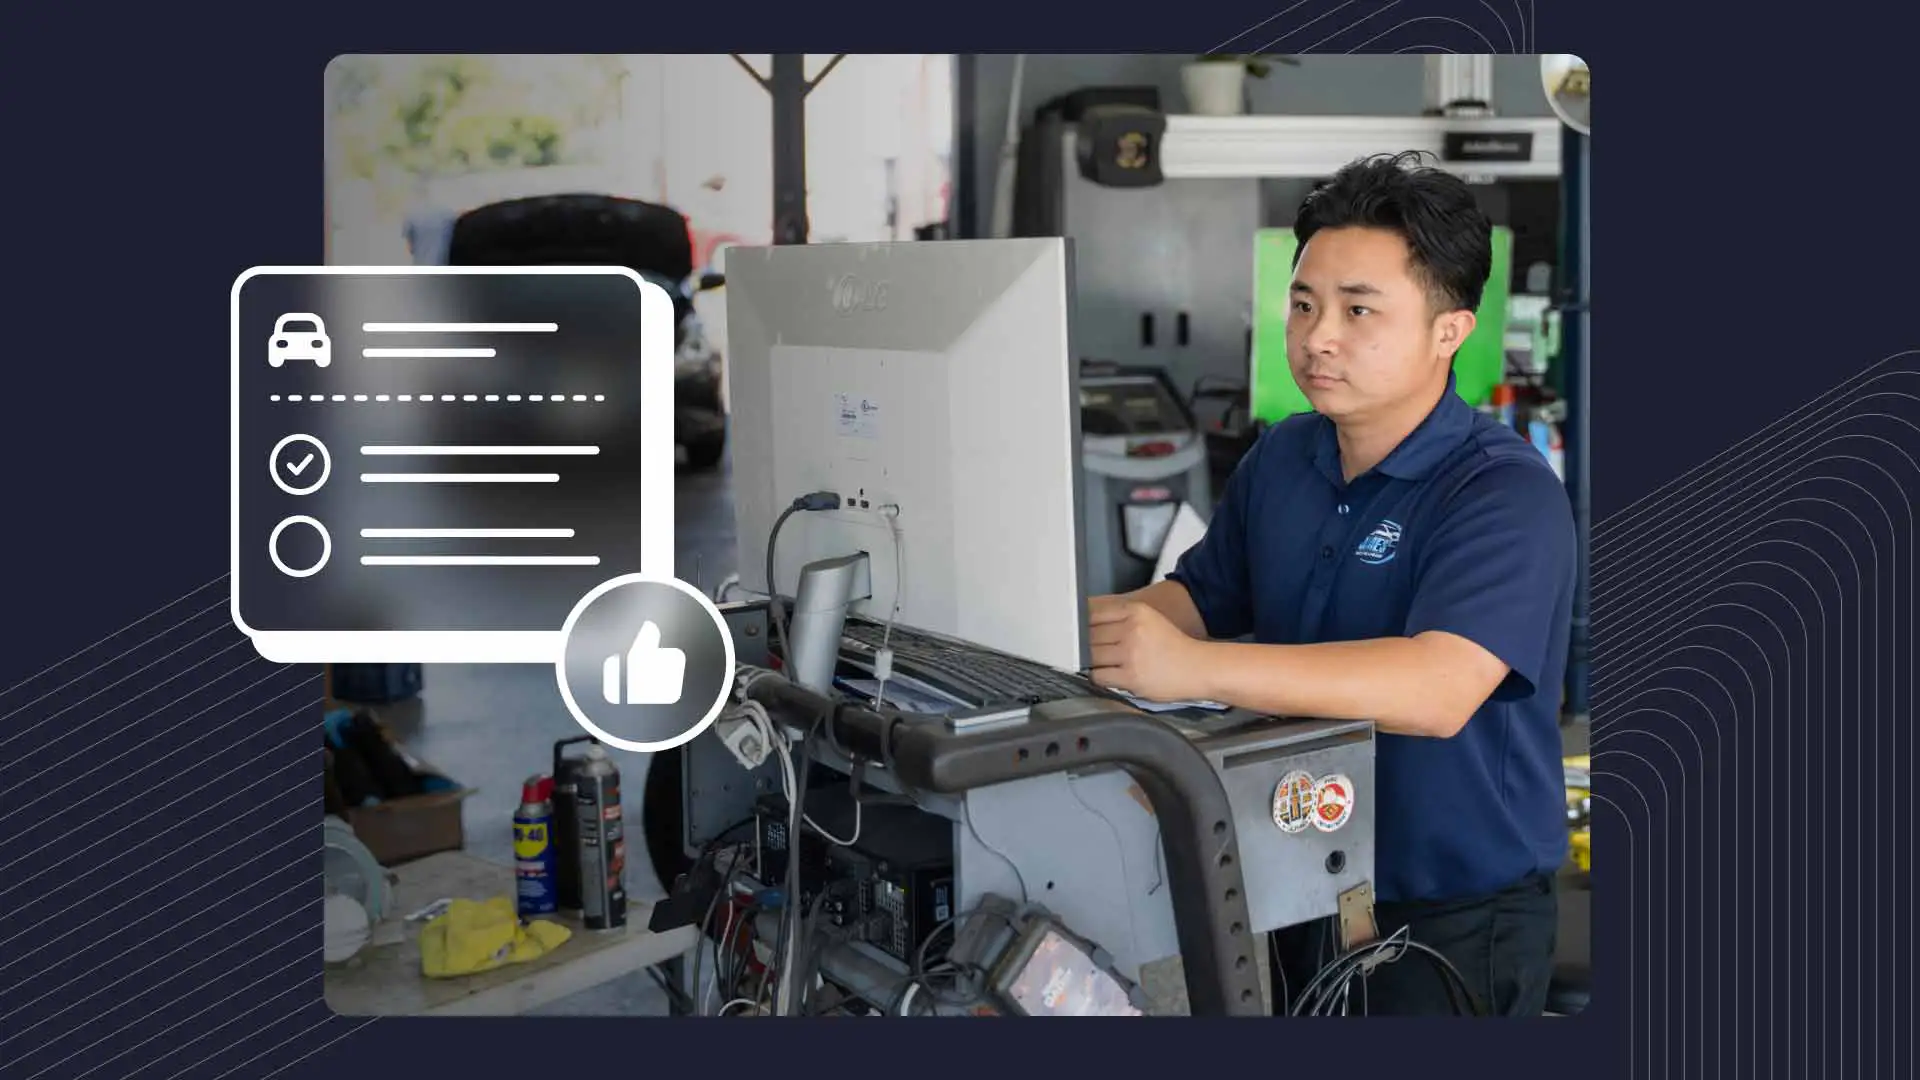
For motorcycle repair shops looking to streamline their operations and provide top-notch service, investing in quality motorcycle repair shop software is highly recommended. Request a demo today and discover how these tools can help you track maintenance schedules, manage inventory, and ensure every rebuild is done to perfection.