People put decals on their cars to show off a favorite sport or hobby, or support a hometown team (go Dolphins!), advertise a business, or express their political views. Decals can also serve practical purposes like safety, identification, or permitting.
But what happens when it’s time to sell the car? Or decals start to fade or peel? Or you just can’t wait any longer to see if maybe, by some miracle of miracles, your team can manage to win a freakin’ playoff game...
There are several reasons why you might need to remove a decal from your car. And doing so without damaging the paint or leaving behind sticky residue can be a challenge. Even worse, using the wrong tools or techniques may result in scratches, paint chips, or ghosting, where you can still see the outline of the decal afterward.
Since the goal is to avoid these snafus, let’s break down the essentials of safe and effective decal removal, along with some helpful tips to keep those cars and trucks looking their Sunday best.
Understanding Decals & Adhesives
Before getting out our trusty plastic scraper, it’s important to note the different types of decals, including vinyl, paint, clear, and magnetic. Vinyl decals are usually made from a durable, flexible material with an adhesive backing, making them easy to apply but difficult to remove. Painted decals are more permanent and require extra care to avoid damaging the paint underneath. Clear decals can be tough to remove because of their transparency. And magnetic decals, while fairly easy to remove, can still leave residue behind if they’ve been in place for a while.
Note, too, that older decals, or those exposed to sunlight, rain, or temperature changes, may be harder to remove. The type of adhesive used can also impact removal. Acrylic adhesives, for example, are durable but can be softened by heat, while solvent-based adhesives require stronger chemicals for removal.
Preparation is Key
Before starting the decal removal process, find a shaded (or indoor) area to work in. Try to avoid direct sunlight, which can heat up the vehicle’s surface and cause the adhesive to become tacky.
You'll also need a few essential supplies, including a heat gun, plastic scraper or credit card, adhesive remover, microfiber cloths, soapy water, and a detailing clay bar.
Next, it’s time to clean the surface: Thoroughly wash and dry the area around the decal to prevent dirt and debris from interfering with the removal process. Your clay bar will help get rid of any tar, bug splatters, or overspray that could scratch the paint during removal.
Decal Removal Techniques
There are three primary methods for removing decals: heat application, chemical removal, and mechanical removal. The best approach depends on the type of decal, the surface it's applied to, and your personal preference.
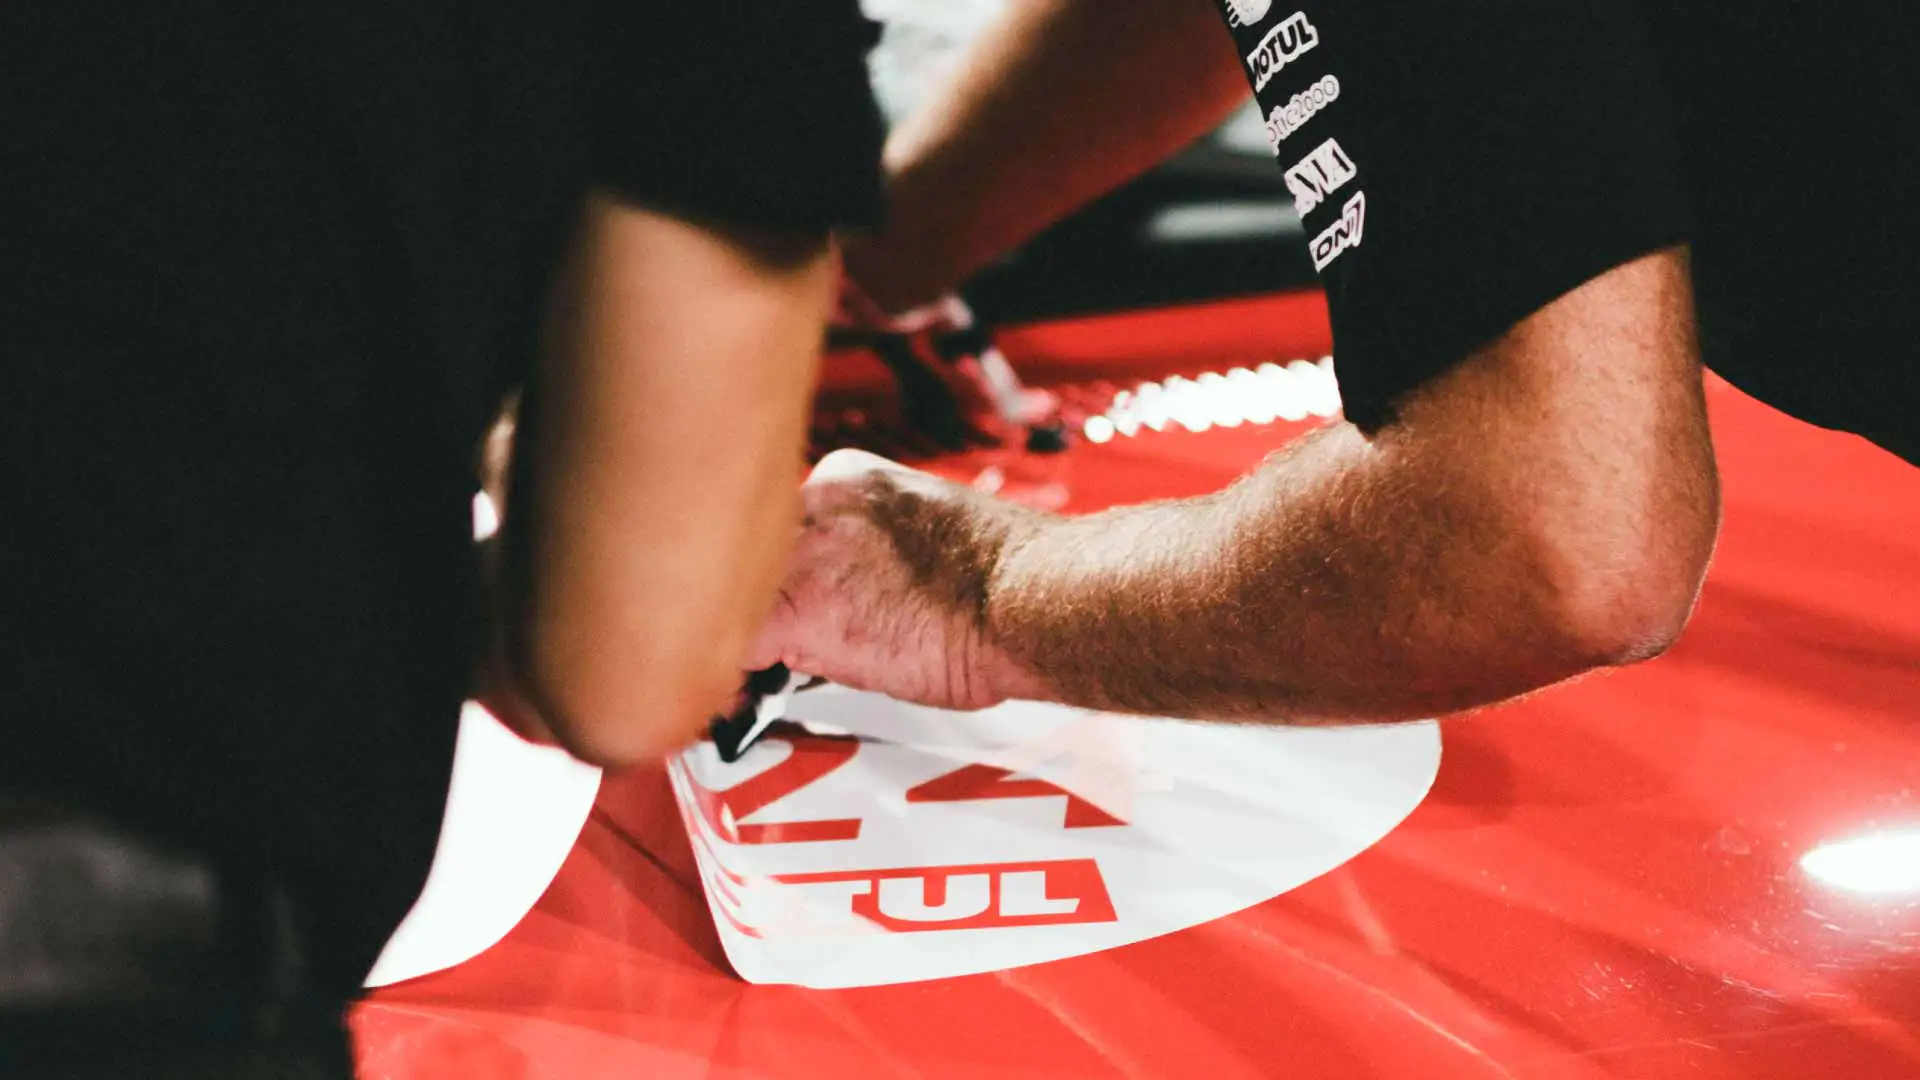
Heat Application: Applying heat can soften the adhesive, making it easier to remove the decal. Use a heat gun to warm the decal–keeping the gun moving to avoid overheating and damaging the paint or clear coat. Then, slowly peel the decal back at a 45-degree angle.
Chemical Removal: Adhesive removers can dissolve the bond between the decal and the vehicle surface. Either spray or wipe the remover onto the decal, let it sit for a few minutes, then scrape off the decal and wipe the area clean.
Mechanical Removal: This method involves using a plastic scraper or credit card to pry the decal off the surface. Start at one corner and, holding your tool at a shallow angle, work your way across the decal, applying steady, even pressure as you lift it. Important note: Don’t use metal tools, since they can easily scratch the paint.
Advanced Techniques for Stubborn Decals
Some decals may require a little extra creativity to remove. For example, if a decal has multiple layers, your best bet is to peel off each layer individually, starting with the top one and working your way down, and using heat and adhesive remover as you go. If the decal has been painted over, you'll need to remove the additional paint before taking off the decal. Use a detailing clay bar or paint-safe adhesive remover to carefully remove the overspray. Finally, for any leftover adhesive residue, apply an adhesive remover, wait several minutes, and then wipe the area clean with a microfiber cloth.
Post-Removal Care
Once the adhesive residue has been removed, give the area a good soapy wash, then dry it thoroughly and check again for any lingering residue. Next, use a quality automotive polish to treat any imperfections or scratches that may have cropped up during the decal removal process, followed by a coat of wax or sealant to protect the paint and prevent any further damage from future decal residue.
Helpful Tips & Hacks
To help speed up the process, or save a little effort along the way, consider the following tips and tricks:
Before applying any adhesive remover, test it on a small, inconspicuous area to make sure it won’t damage the paint.
Speaking of adhesive remover, sprays generally work faster than gels or liquids.
For vinyl decals, try the "fishing line method," where you wedge a piece of fishing line under the decal and gently saw it back and forth; this can also be done using dental floss.
Adjust your approach to suit the different surfaces you’re working on. For example, while razor blades are fine for scraping on glass, you should always use a plastic scraper when removing decals from paint.
Stick to the Fundamentals
Removing car decals doesn’t have to be like writing your name in water. With the right tools and techniques, along with diligent preparation and post-removal care, you can eradicate those decals safely and effectively. And don’t hesitate to try some different methods and products; experimentation is part of the process.
Ready to take your detailing chops to the next level? Request a demo of Shopmonkey to see how our auto detailing software can streamline your operations and boost profits.


