Sooner or later, most vehicle owners will have to deal with foggy headlights—those cloudy, yellowed lenses that make even a well-maintained car look like its best days are in the rearview. Beyond that, they’re also a safety risk, making it harder to see and potentially dangerous to drive at night or in bad weather.
The benefits of cleaning hazy headlights are clear as day. Not only are you improving the car’s visibility, you’re also giving it a cleaner, more polished look. Plus, bright and glassy headlights can help vehicles retain their resale value, since it’s a sign they’ve been kept in top condition.
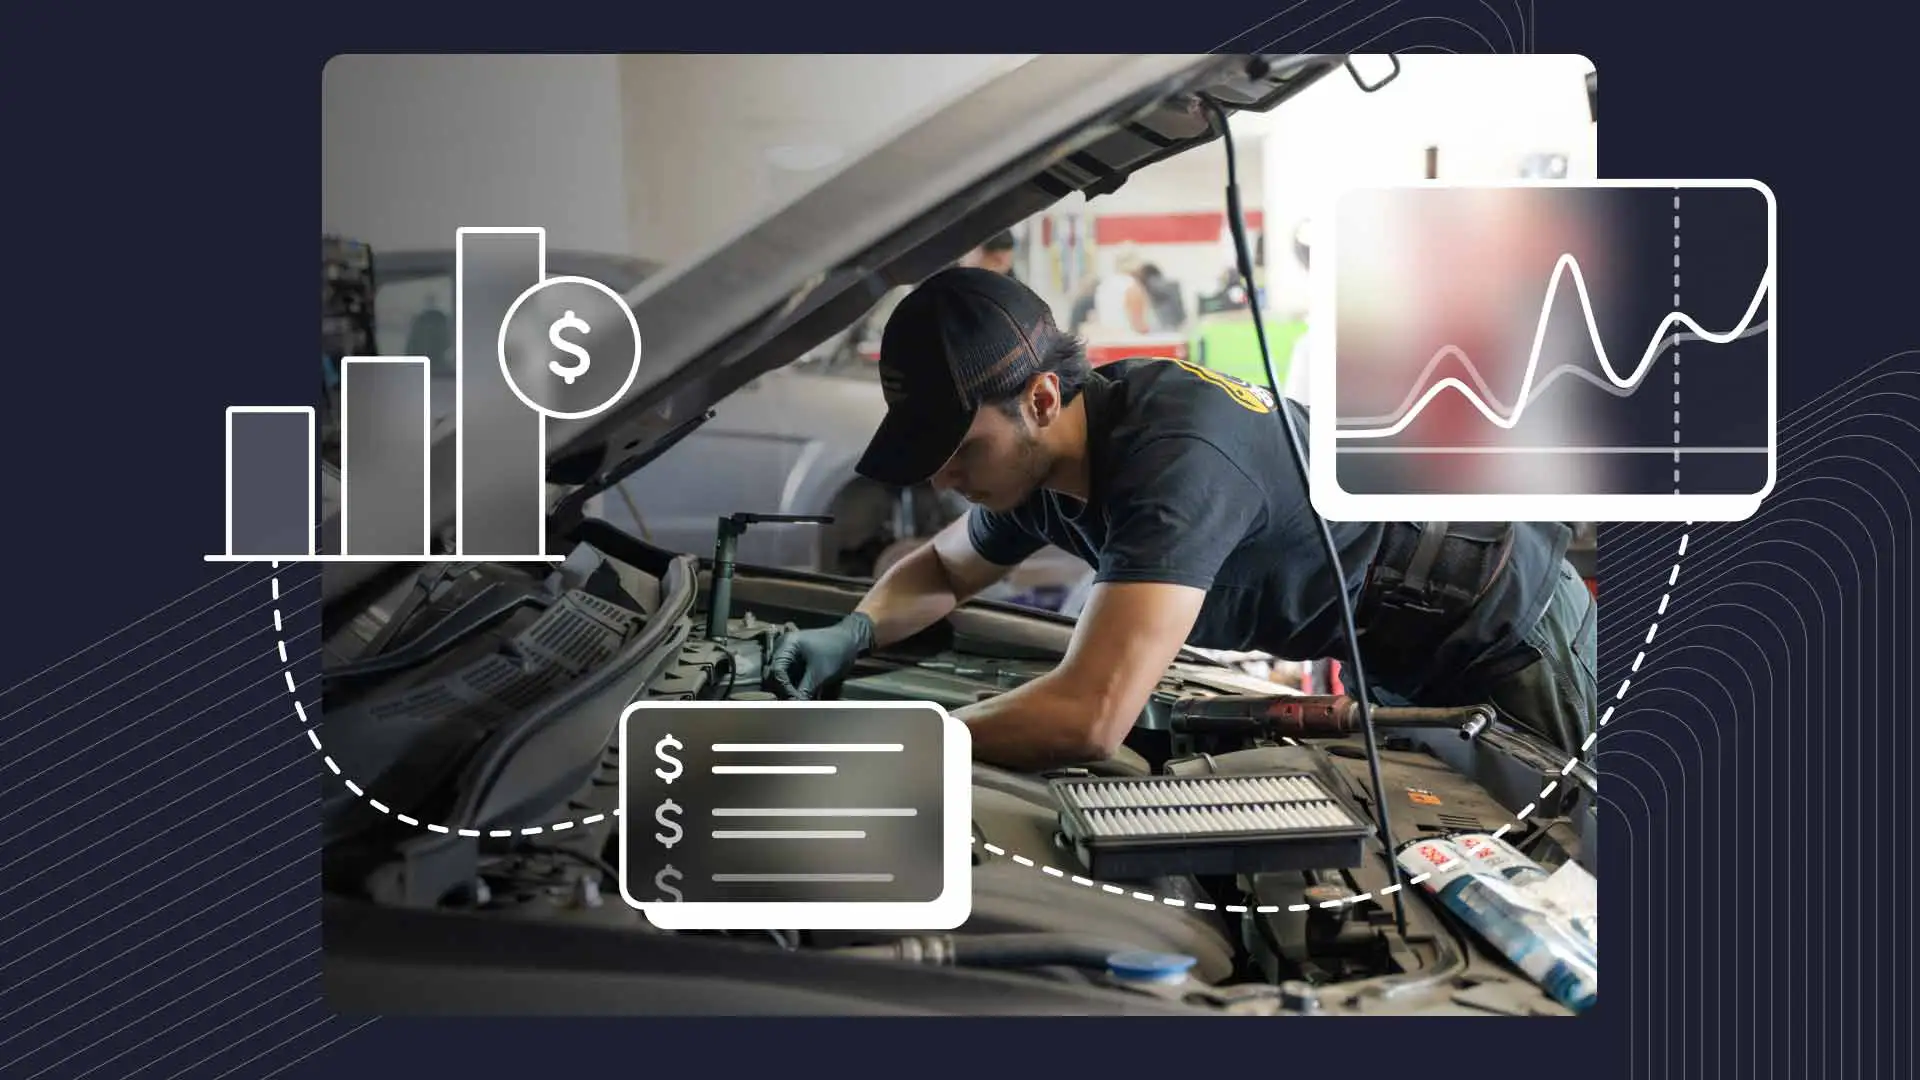
But cleaning foggy headlights isn’t just good practice–it could also pay dividends for auto detailers. After all, understanding how to restore headlights can help strengthen your connection with customers, create more opportunities for repeat business, and add a profitable new revenue stream to your existing services.
What Causes Hazy Headlights
Headlights don’t go bad overnight–it’s a gradual process that’s caused by a handful of factors. One of the main culprits is oxidation. Most headlights are made from tough polycarbonate plastic. But this material isn’t invincible. Over time, exposure to air and moisture produces a chemical reaction that leaves behind a dull, cloudy film.
Then there’s UV damage. The sun’s ultraviolet rays eventually break down the polycarbonate material, which causes it to become discolored and develop a rough texture. Without a protective coating, the lenses degrade even faster, especially in areas with heavy sunlight.
And don’t forget about scratches. Every day, headlights take a beating from dust, dirt, and small debris on the road. Even minor impacts can leave scuffs that produce a light-scattering effect, contributing to that foggy look.
Essential Tools & Products For Clearer Headlights
To effectively restore headlights, you’ll need the right tools and products. It’s worth the investment in quality supplies to get top-tier results.
Cleaning Agents: Start with a mild, non-abrasive detergent to clean the surface. This helps eliminate all the dirt, grease, and grime without scratching the lens. A good headlight restoration kit is another must. These kits should have everything you need to get the job done, including polishing compounds, sandpaper, and a protective coating. For longer-lasting protection, try to get one with a UV-resistant sealant as well.
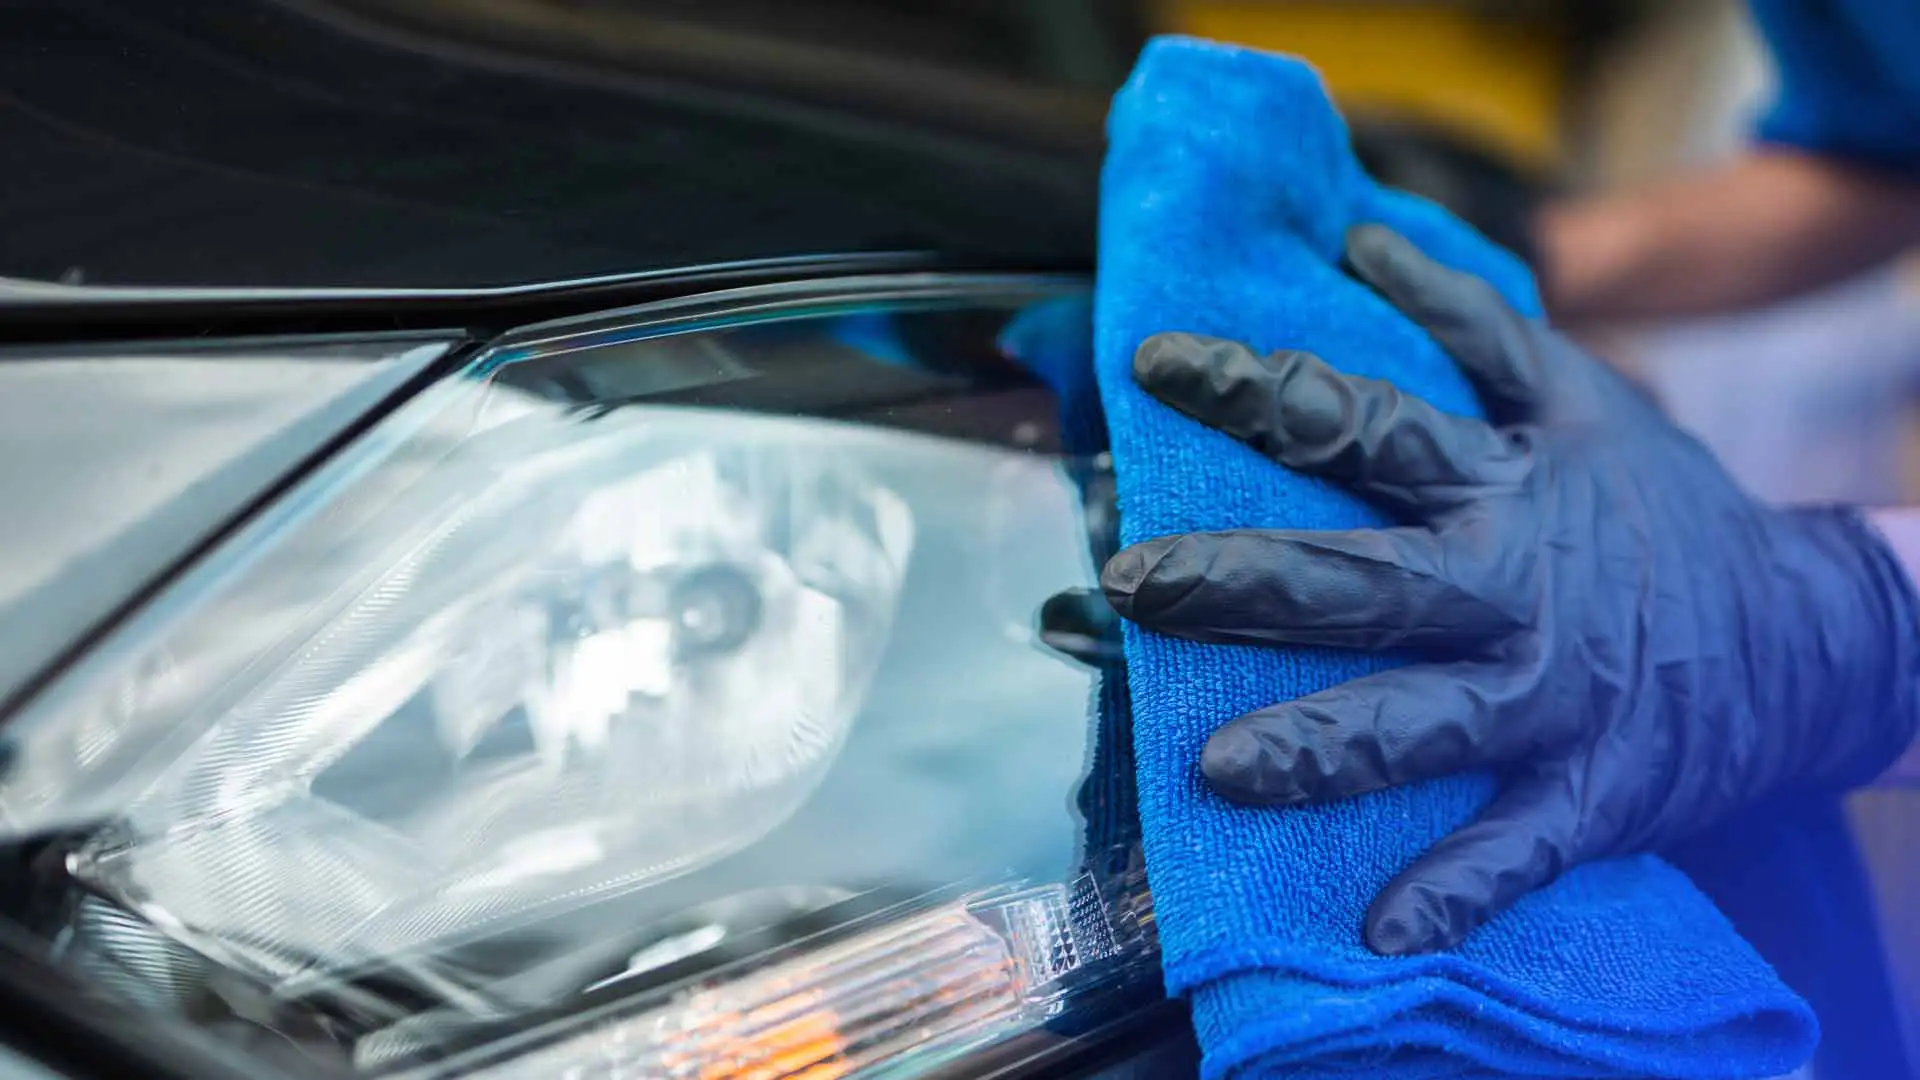
Tools: When it comes to tools, microfiber cloths are your best friend. They’re soft, lint-free, and won’t scratch the surface when you’re cleaning and polishing. Speaking of which, buffing pads will be your go-to for polishing. They have different levels of abrasiveness, so you can tackle everything from heavy oxidation (cutting pads) to very precise polishing (finishing pads). If you’re not into doing it by hand, a polishing machine can save time and energy and deliver a consistent, pro-level shine. They’re not terribly expensive, either.
Step-by-Step Headlight Restoration Process
Restoring headlights is a straightforward process, but you still have to pay attention to the details. Start by giving the car a full wash to clear off dirt or debris from the surface. Once the car’s clean, use a mild detergent and a microfiber cloth to wipe down the headlight lenses and remove any leftover grime or loose particles.
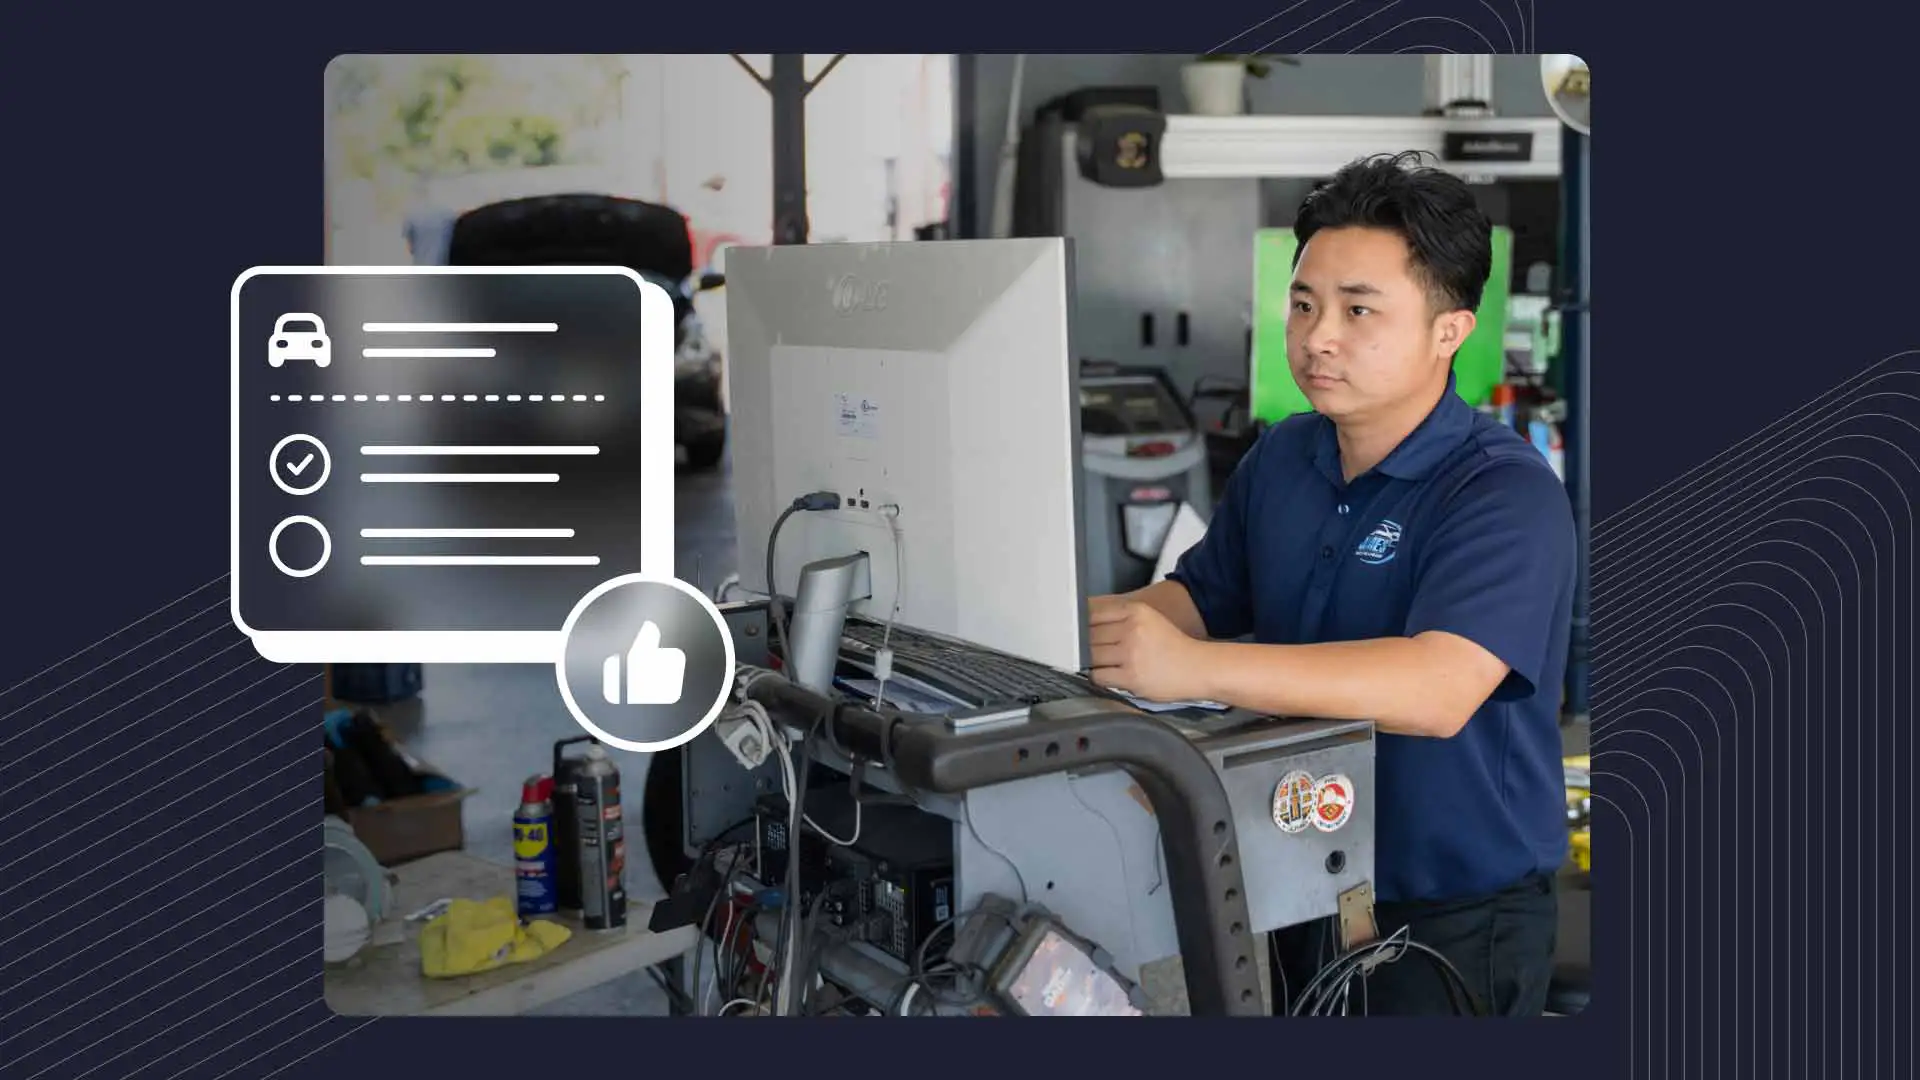
Next, take a close look at the headlights. You’ll want to figure out how extensive the damage is–are we talking deep scratches, heavy oxidation, or just a light haze? A good inspection will help you decide which products and techniques to use. For example, a lens with serious oxidation will probably take a coarser polishing compound to start, whereas a lightly hazed lens may only need a fine compound.
For the polishing itself, start off with a coarse compound to remove the worst damage, like deep scratches and heavy oxidation. Use a buffing pad and/or your polishing machine, and work in small sections. Then, move on to a finer compound to refine the surface and restore its clarity. One last pass with a finishing pad will get rid of any haze left by your polishing compounds and leave the lenses looking like new.
You’re almost done, but the last step is important: Apply a UV-resistant coating to the headlight lenses. This seals them up and helps prevent future damage from oxidation or continued exposure to the sun.
Helpful Tips & Tricks
Patience is the name of the game when it comes to cleaning headlights. Unless you’ve got a plane to catch, there’s no reason to rush through the process. Take your time and work methodically, tackling one bite-sized section, then the next, and so forth. It’s also wise to test your products on a small, unnoticeable area of the headlight first before going all in. Better to find out sooner than later if there are any compatibility issues.
Polishing machines can do a lot of the heavy lifting, but they also produce heat. And if polycarbonate lenses get too hot, they could warp or even melt. The trick is to keep the polisher moving and avoid pressing too hard. Also, don’t let history repeat itself–a little care and protection go a long way in keeping lenses crystal-clear, so encourage your customers to make headlight cleaning part of their regular maintenance routine.
From Foggy to Flawless
Restoring headlights might seem like a minor detail, but it can make a real difference for both your customers and your business. Drivers will immediately appreciate the improved visibility, not to mention how much better their car looks, as well as the bump in value when it’s time to sell.
At the same time, offering headlight restoration is an excellent way for you to add a new service without breaking the bank on tools and equipment. It’s a nice moneymaker that, while not terribly time-consuming, does allow you to showcase your expertise and commitment to quality work.
A growing business needs smooth-running operations, and Shopmonkey’s best-in-class auto detailing software is built to handle everything from scheduling and tracking jobs to managing customer communication and so much more. Request a free demo today!